What is Odin?
Odin is a Windows-only program, designed by Samsung themselves, used to root, flash, upgrade, and restore Samsung phones using special firmware files specific to your model.
What You Will Need
- The latest Samsung USB drivers. These are universal.
- The latest version of Odin (3.07).
- The latest firmware file for your model phone. Via the link, select your device from the pull-down menu on the left to download the file. If you don't know your model number, you can find it via Settings -> About Phone on your device.
- The appropriate device-compatible CF-Auto-Root file.
- The app ROM Manager (free version).
Step 1: Install Samsung USB Drivers
Start by downloading and installing the USB drivers onto your Windows computer. You'll need them to properly connect your Galaxy S3 to your computer with Odin. You may be prompted to reboot your computer after they're installed.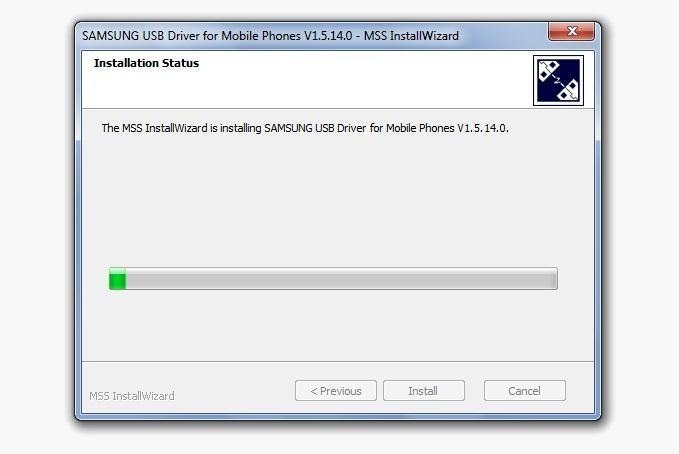
Step 2: Extract Odin
Using the provided link, download and unzip Odin onto your desktop. The software does not need to be installed, just extracted.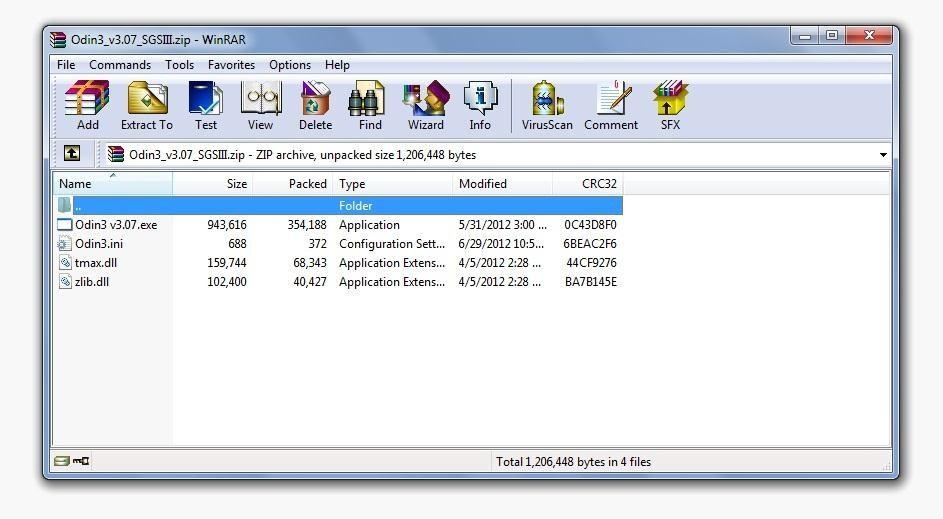
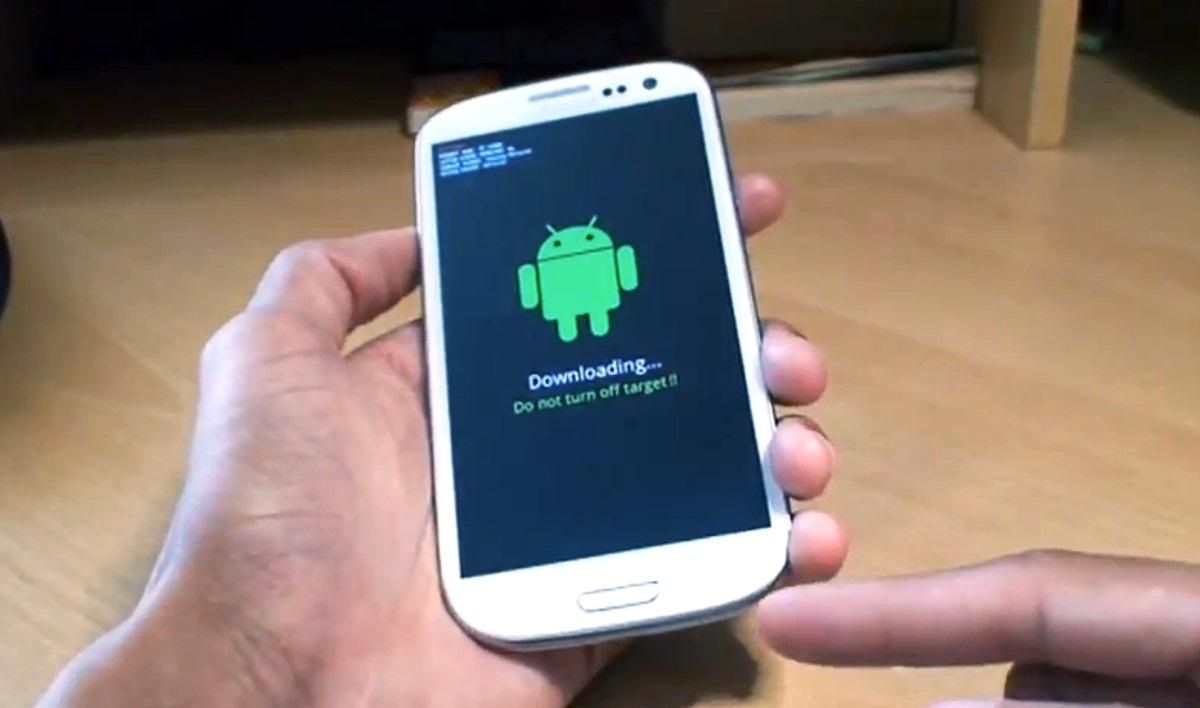
Step 3: Set Phone to Download Mode
Turn off your GS3 if it's on. If your phone is stuck or frozen, take off the back cover and remove the battery then put it back in.Press and hold down the Home Key, Volume Down Key, and Power Button at the same time until the Samsung screen shows.

Step 4: Using Odin
Connect your GS3 to your computer with the included USB cable that came with your phone. Go into the Odin folder and open the Odin app.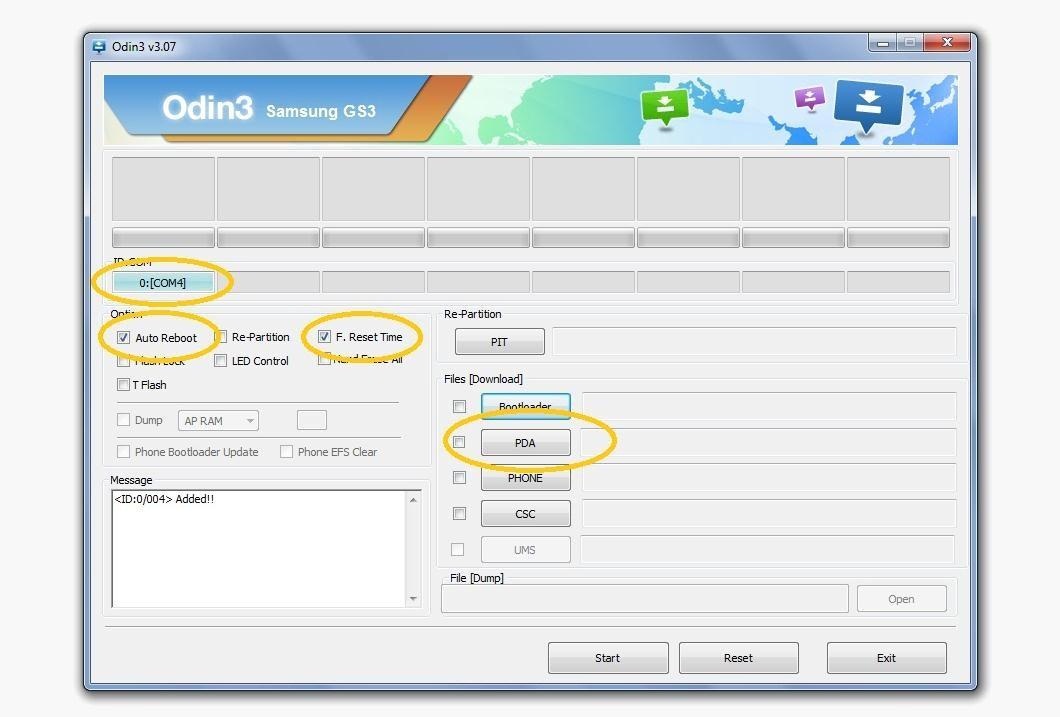
Step 5: Load and Flash File
To Flash Samsung GS3 FirmwareExtract the firmware you are flashing (you should have already downloaded it).
- Click "PDA" and go to the folder with your file. Find and click on the file that ends in "tar.md5".
- Click "Start" to begin flashing. Odin will display the current progress during the flashing.
- Your device will automatically reboot once the process is complete.
Extract the CF-Auto-Root file.
- Click "PDA" and go to the folder with your file. Find and click on the file that ends in "tar.md5".
- Click "Start" to begin flashing. Odin will display the current progress during the flashing.
- Your device will reboot into stock recovery. From there, reboot.
- Open up ROM Manager on the GS3.

- Select "Recovery Setup" and install either ClockWorkMod Recovery (CWM) or Team Win's Touch Recovery (TWRP).
Terms You Should Know
- Re-Partition: Re-partitions the layout
- Auto Reboot and F. Reset Time: Reboots the phone after the flashing process is complete and resets the phone's internal flash counter. These two always should be checked.
- PIT: This is a file that describes the layout of the partitions on your phone. Some firmwares already have this file included.
- PDA: The phone's complete OS.
- PHONE: The phone's radio and baseband (responsible for connecting you to your carrier).
- CSC: Determines specific country information and settings for your phone.
See Also
 Labels:
Android Smartphone
Labels:
Android Smartphone
 Previous Article


Responses
0 Respones to "How to Root Your Samsung Galaxy S3 (And Flash Stock ROMs) Using Odin for Windows"
Post a Comment